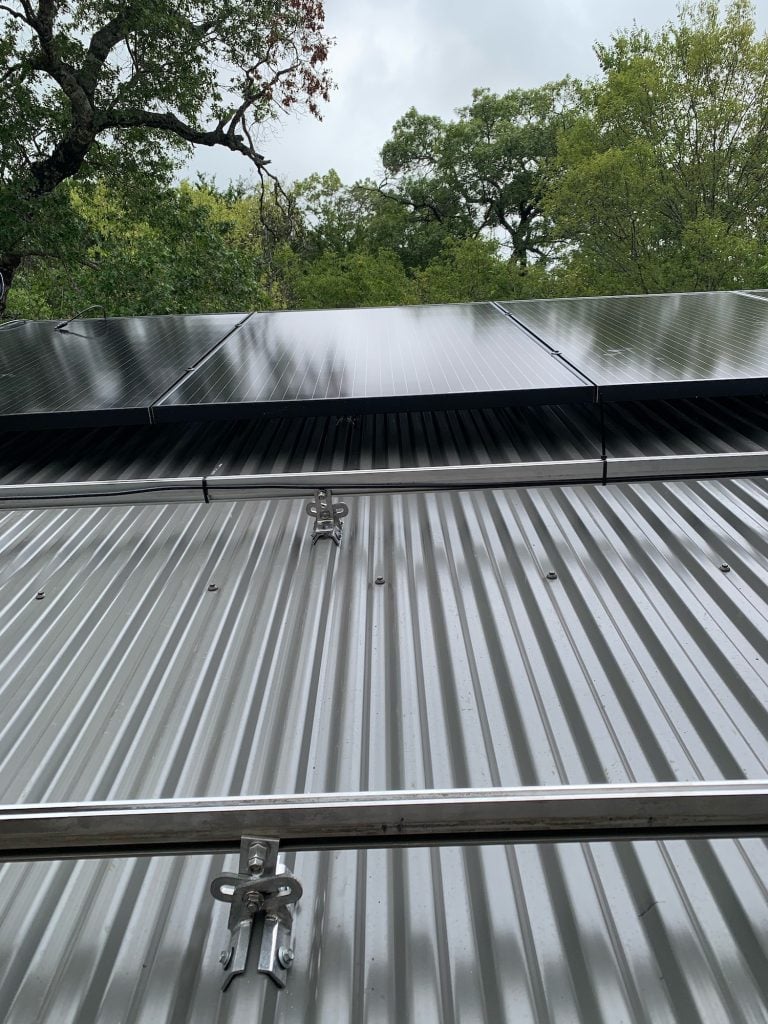
PVKIT® Rail-Less Metal Roof Solar Mount
The DirectAttach™ Solution for Standing Seam and Exposed-Fastened Metal Roofs
Want to Reduce Solar Mounting Costs on Your Next Metal Roof Project?
- Hardgoods - For example, a 50kW system requires about 150 lbs. (68kg) of parts vs. 970 lbs. (440kg) of rail.
- Shipping - 85% lighter weight than rail mounting. Fewer than 3.5 lbs./kW (1.6kg) vs. 19.4 lbs. (8.6kg/kW) for rails.
- Material transportation to the site - The 50 kW system delivers to the jobsite in the trunk of your car.
- Lifting equipment not needed - Equipment is only necessary for projects more than 500kW.
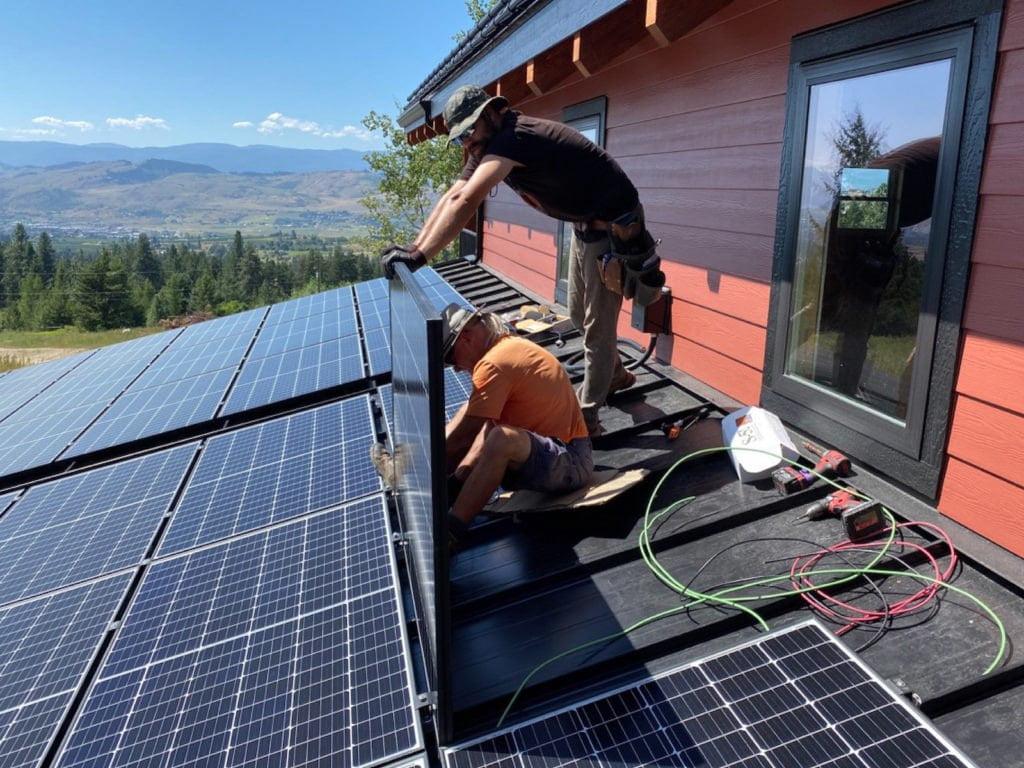
- Installation time and cost - Locate modules as desired without customizing rails. Installation time is 30-50% less.
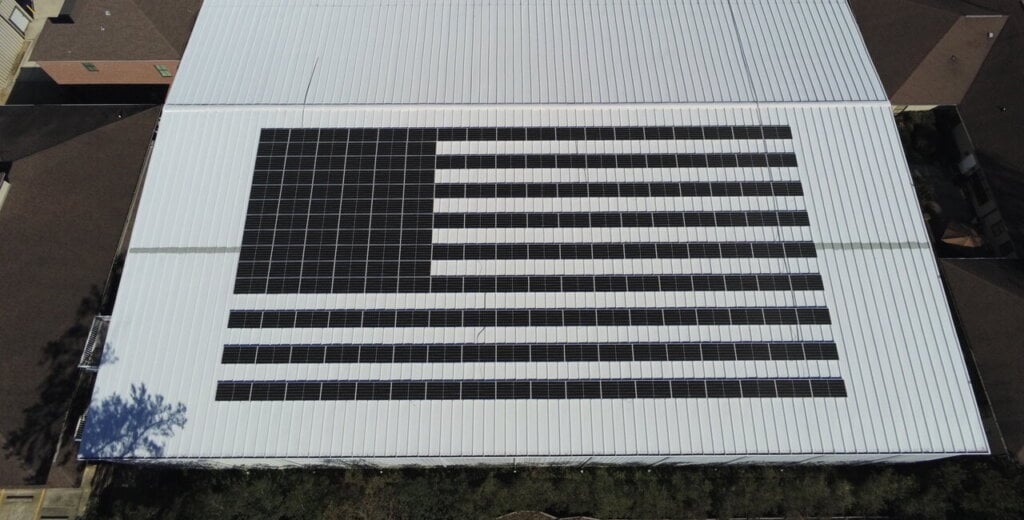
- Aesthetically pleasing - Assembly is available in black architectural anodizing.
Product Certifications
Florida Product Approval ● UL 3741 ● UL2703 ● Sunnova AVL ● CE
Your Metal Roof Already Comes With Rails for Solar Mounting - Why Pay Twice?
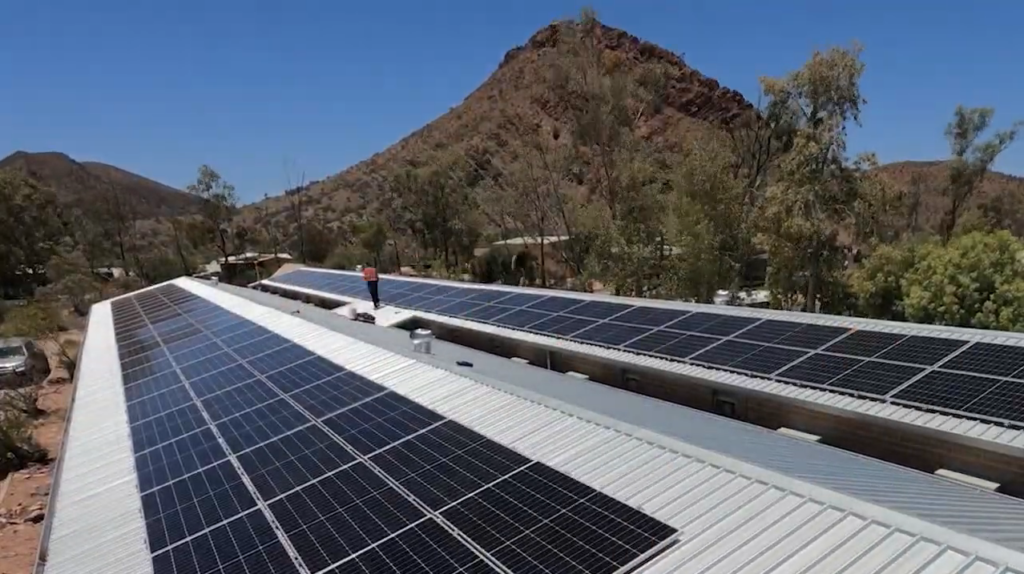
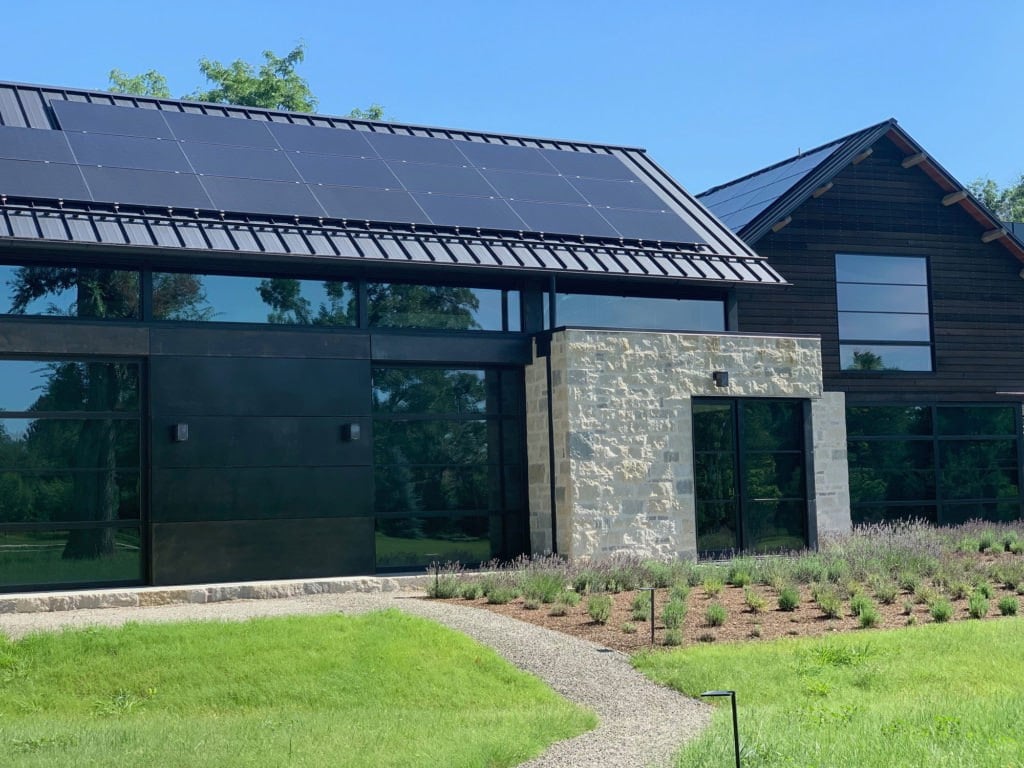
Using the roof’s integrated “rails” makes solar mounting quick and convenient. Compared to rail mounting, the PVKIT:
- reduces the weight of the mounting system by 85%
- provides 25% better load distribution
- uses 70% fewer components
- lowers material costs
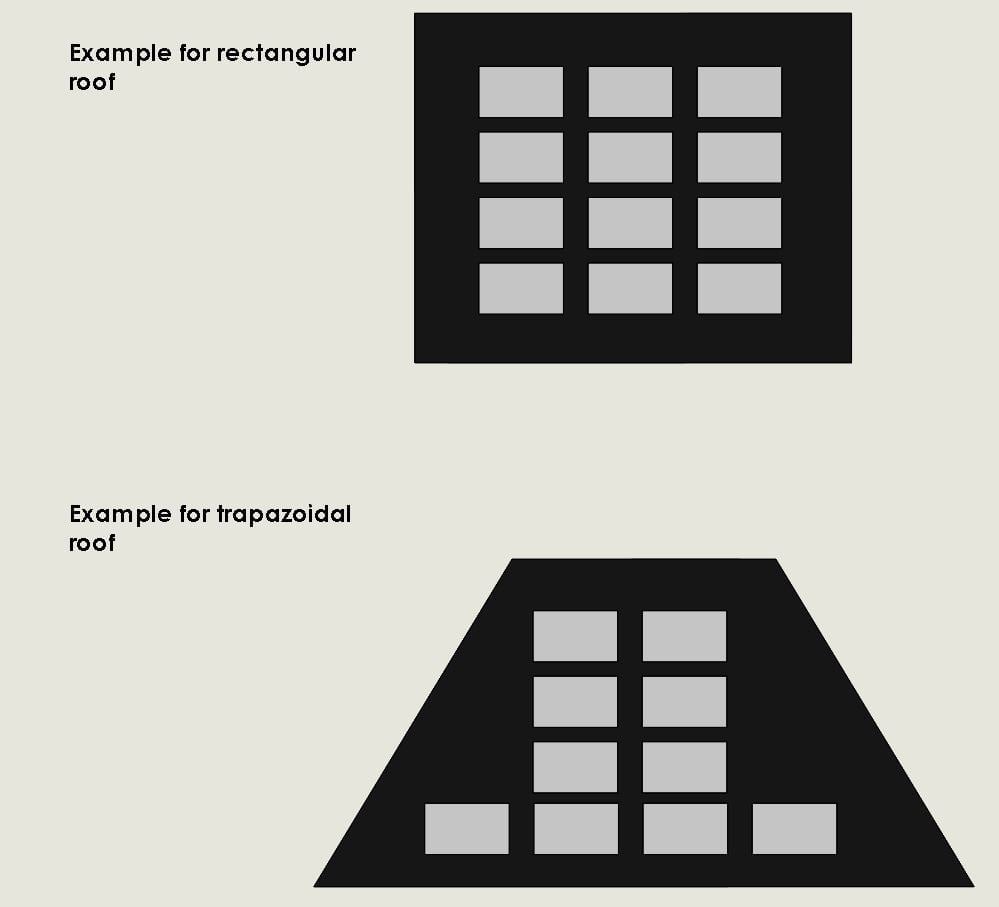
With total mounting system weight below 3.5 lbs./kW (1.6kg)/kW compared to 19 lbs. (8.6 kg)/kW for railed systems, the savings in transportation costs and logistics is tremendous. The solar zone layout is more flexible. The added load to the building structure is far less. Material handling is reduced and simplified with only 3 components for the mounting system. Electrical bonding is automatic. “Lay and play” installation saves time on the roof.
Get Your Solar Mounting Checklist
Use it to guide your next project through layout, design, cost, project logistics and aesthetics.
PVKIT Features:
- Compatible with all S-5! clamps
- Can be used with almost any S-5! attachment bracket
- Pre-assembled components
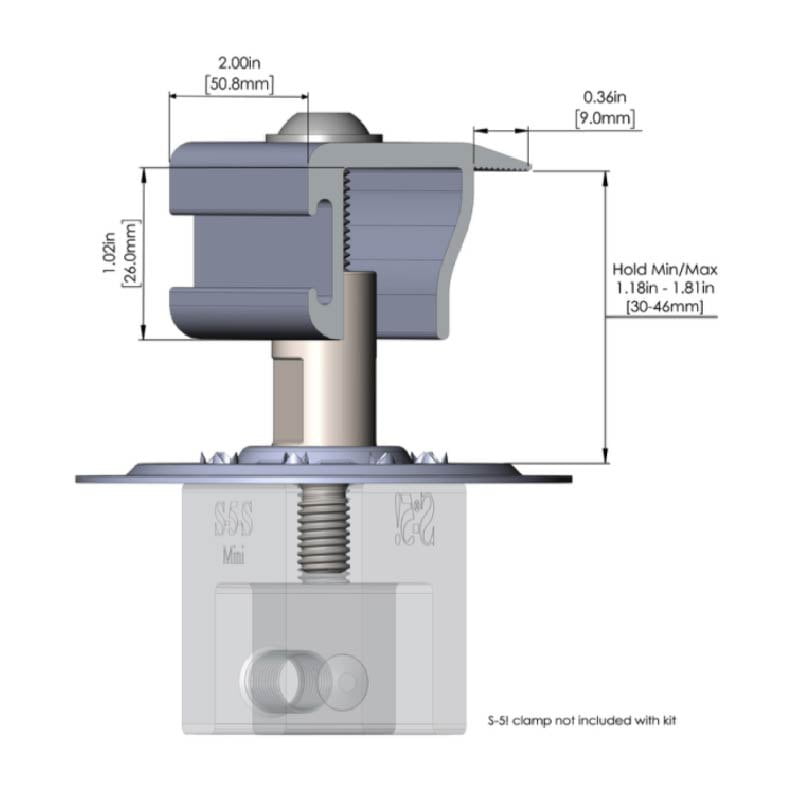
- Versatile: Same kit for 30-46 mm module frames
- Only one tool needed for installation
- 25% better load distribution
- UL 2703 listed ground path is automatic
- Multiple slots for wire ties
- Available in black - architectural anodizing
- Allows load reduction per ASCE-7
- Be sure to see many other features on the solar racking overview page
PVKIT Works for the Following Roof Type:

Exposed-Fastened
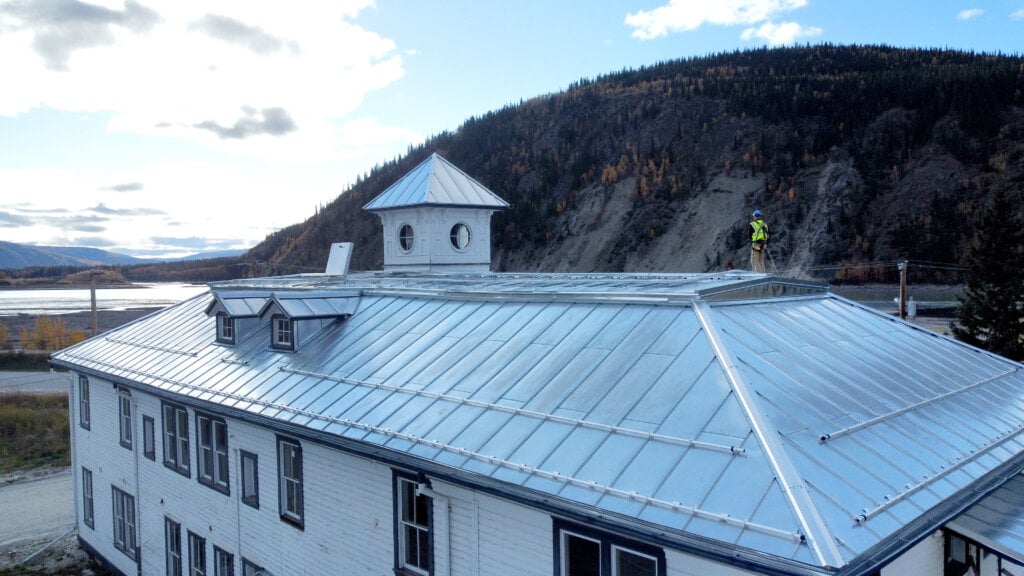
Standing Seam
Corrugated
PVKIT Components
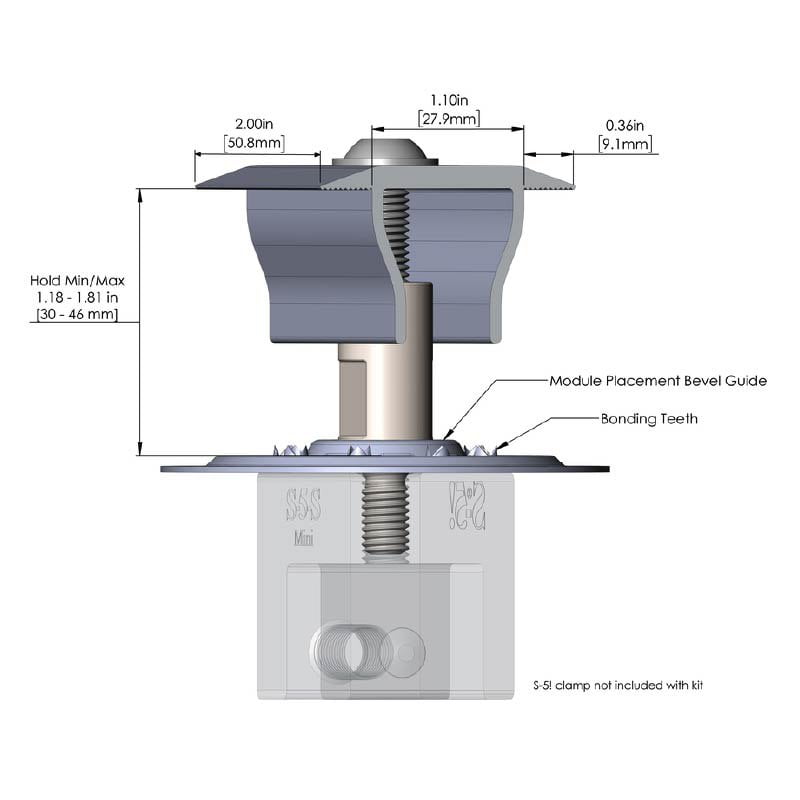
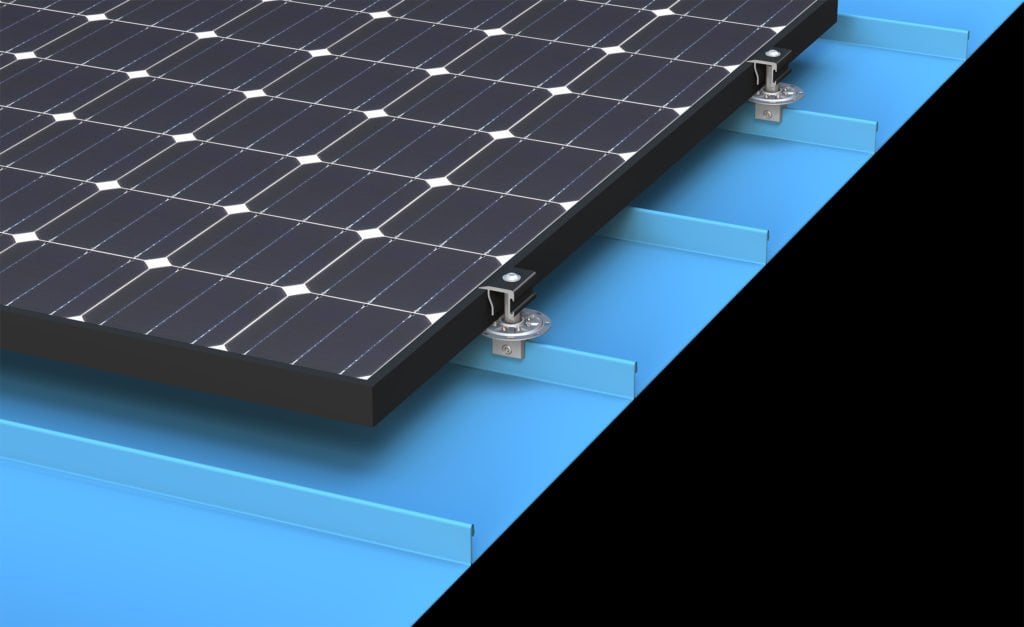
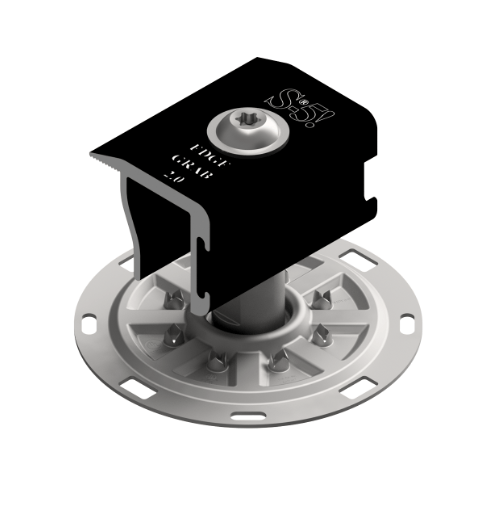
PV Disk (included with PVKIT)
Structural platform between module frame and clamp or bracket, which performs multiple functions. Bonding teeth abraide anodization creating a continuous electrical path along module columns. Slotted holes at the edge of the disk act as attachment locations for wire management ties.
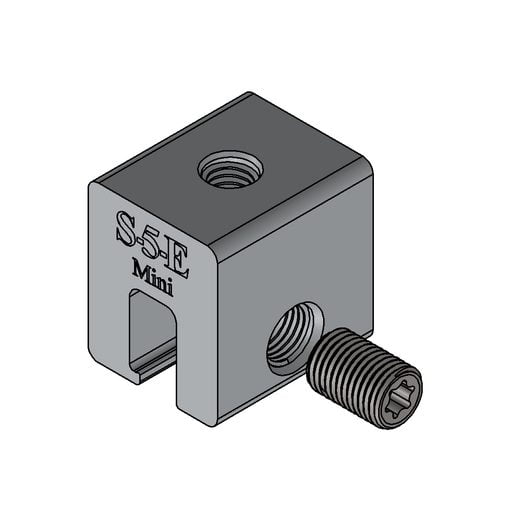
Compatible S-5! Mini Clamp
For use on standing seam profiles. See individual pages to select the best attachment solution for your metal roof profile.
(Pictured: S-5-E Mini. Visit our clamp overview page to view additional attachment solutions.).
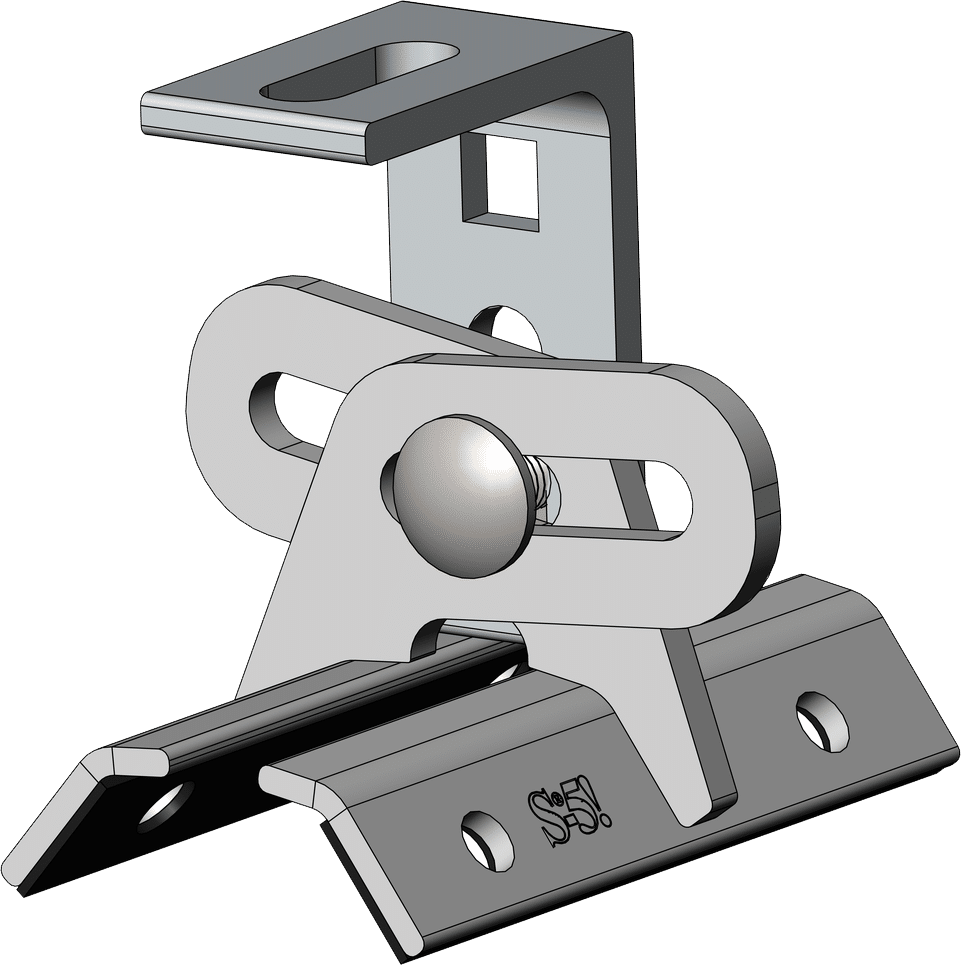
Compatible S-5! Bracket
Attachment for exposed-fastened roofing. See specific product pages for critical dimensions to ensure correct bracket selection.
(Pictured: ProteaBracket™ for exposed-fastened, trapezoidal rib metal roofing. Visit our bracket overview page to view additional attachment solutions.)
How to Install the PVKIT on Your Roof Profile*
Install the first row of S-5! clamps or brackets at the edge of the array. Mount the PV Disks and the EdgeGrab/standoff assembly to the first row of clamps. Install the first row of modules. Then install the MidGrab/standoff assembly & PV Disk on clamps or brackets. Place MidGrab/standoff/disk & clamp assemblies. Install additional PV modules.
*See more detailed installation instructions in the PDF download below.
Have More Questions?
Submit your information by clicking the form below, and we’ll get back to you almost immediately.
FAQs
What spacing should be used with S-5! clamps for PV assemblies?
The following suggestions assume a determination has been made that the roof to which the S-5! clamps will be attached is structurally adequate. Any loads imposed on the S-5! clamps will be transferred to the panels. Panel seams must have sufficient flexural strength to carry these loads. Panels must also be adequately attached to the building structure, and the structure must be sufficient to carry these loads. The makers of S-5! clamps make no representations with respect to these variables. It is the responsibility of the user to verify this information or seek assistance from a qualified design professional, if necessary.
The key to frequency and spacing of attachment points for PV is to distribute loads to the metal standing seam panels in a manner consistent with the intended distribution of loads from the roof panels into the building structure. With very few exceptions, the attachment of a single S-5! clamp (even the “Mini”) to the seam will be stronger than a single point of attachment of the seam to the building structure. Hence, the “weak link” is not the S-5! clamp, but the attachment clips that hold the metal panels to the building structure or the beam strength of the roof panel seam itself.
The most conservative approach to the spacing/frequency of PV attachment to the roof is to determine the spacing/frequency of the roof’s attachment to the building structure; then duplicate it at minimum. Determining panel attachment spacing in one axis is very simple: A standing seam panels’ attachment will be made using concealed hold-down clips within the seam area of the panel. So, in that axis, the clip spacing is the same as the seam spacing. The location of the clips along the seam (in the other axis) can be determined by a) consultation with the roof system manufacturer or installer, b) checking from the underside or, c) close examination from the topside along the seam. There will usually be a slight, but detectable, deformation of the seam at the clip location visible from the roof’s topside. Many standing seam roofing systems are installed on “pre-engineered steel” buildings. The attachment spacing in that industry is typically 5’-0” and is readily apparent by inspecting the structural purlins to which the panel clips are attached from the roof underside (interior of the building).
If the panel clips are spaced, for instance, 5′-0″ on center along the seam, then use the 5′-0″ dimension as a maximum spacing for the S-5! clamps. (S-5! clamps may also be spaced at closer centers, but not wider.) When modules are direct-attached (without racking) in landscape orientation, this spacing dimension is dictated by the smallest dimension of the PV frame. Using the roof panel clip spacing as a maximum spacing template for S-5! clamps is a sound practice whether the PV modules are attached directly to S-5! or to a racking system, which is in turn, attached to the S-5! (and panel seams). To evenly distribute loads, it is also necessary for each seam to be involved in the finished assembly. Thus, every time a seam is traversed, it should be attached. Such an attachment scheme should evenly distribute wind loads into the building structure through the panels and their attachment, as intended in the original roof construction assembly.
Please note, these are only suggestions. Wind dynamics are complex, and S-5! advises review by a qualified licensed professional who understands wind effects and metal roof design and construction.
Can S-5! clamps be used as a grounding path to the roof?
A question we are asked frequently at S-5! is whether or not our clamps are an approved path for grounding the solar array to the roof. The S-5! PVKIT / S-5! standing seam clamp assembly is a UL2703 listed bonding device. While the listing covers carrying a ground path from PV panel to PV panel, the clamp to the roof panel material is not included in this certification.
On an individual basis, some independent racking companies have worked with certification labs to verify the clamp-to-roof connection and its reliability as a bonding path. For instance, IronRidge has found S-5! clamps provide a reliable bond path between the clamps and the roofing panels beneath the array. This rating is included in their racking systems UL2703 listing. Please see page 4 of the links:
How much load will S-5! clamps hold?
The answer to this question varies with the load direction, the seam profile, the roof material and the clamp model. We have conducted hundreds of tensile load tests parallel to the panel seam and on various gauges and profiles, and we have tabulated the results for your convenience. See Load Test Results for more information. In this parallel load direction, any loads introduced into the clamp will accumulate into the point of fixity. Panels must be adequately attached to resist these loads.
Should I be concerned about metallurgical compatibility?
Metallurgical compatibility is extremely important. Incompatibility can cause rapid galvanic corrosion and void material warranties. S-5! aluminum clamps are totally compatible with painted or unpainted G-90 galvanized steel, bare or painted Aluminized, Galvalume, Zincalume, ZincalumePlus, Acrylume Galvalume Plus, Galfan and Galvanneal steel. They are also compatible with aluminum (painted, bare or anodized), titanium-zinc (VM & Rheinzink) and stainless steel. Our brass clamp is compatible with copper roofing.